Healing Brush: paint, then lift
- Open Healing from the home screen, or choose Healing Brush in the editor. Adjust the brush so it is slightly wider than the small scratch or mark.
- Cover the target with a short stroke, lift your finger, and wait for the repair. Work on one small area at a time rather than painting repeatedly across a large region.
- Hold Compare to inspect details. Undo and retry a smaller area if needed. Confirm keeps this panel’s changes; Cancel discards its unconfirmed changes.
Demo images illustrate the operation, not a guaranteed result for every photo. Small repairs work best; complex edges or textures may leave visible artifacts.
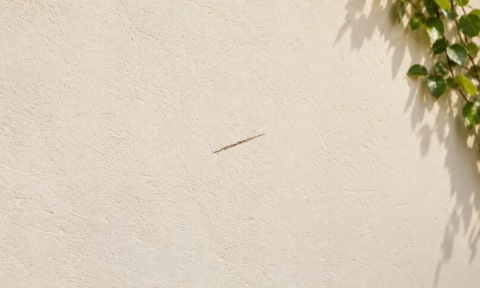 Before
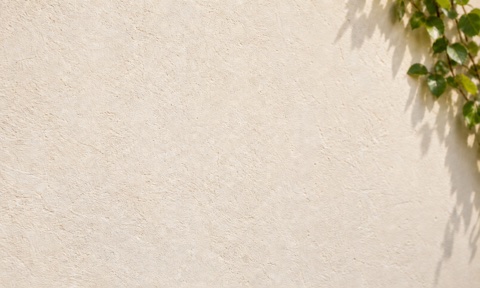 After
AfterChoosing a photo and basic editing
Tap Edit to choose a photo or Camera to take one. The picker shows only photos you allow; use its album menu to change albums. Camera permission is requested only when you choose Camera, and captures are not saved automatically.
Adjust changes brightness, exposure, contrast and other values with sliders. Filters lets you choose a style and change its strength. Hold Compare to inspect the prior image, and use Undo or Redo to review editing steps.
Crop supports moving the frame, dragging edges, ratios and rotation. Confirm applies the crop; Cancel preserves the starting composition.
Saving, formats and sharing
Before saving, open Settings → Save Settings to choose JPEG, HEIC or PNG, Standard or Full size, and an available quality level. PNG is lossless and does not use lossy quality levels.
Standard still output has a long edge of at most 2048 pixels. Full size uses the current working image size; images larger than 4096 pixels on the long edge are resized on import. Live Photos and animations are edited and saved as still images; motion is not retained.
Tap Save at the top of the editor to grant any needed add-to-Photos permission and save a separate copy. The result page opens after saving succeeds. Sharing uses a still copy of the saved result and does not overwrite your original. If permission is denied, change it in iOS Settings and retry saving.
Troubleshooting
Photo will not open: confirm it has downloaded from iCloud, select it again, and check photo access in iOS Settings.
Repair looks unnatural: use a smaller brush and short strokes; avoid eyes, lips, hair and complex edges. Undo unwanted changes.
Save fails: check photo permissions and free storage, keep the app open, and retry. Failure does not automatically clear your current edits.
Sessions are not automatically saved as projects. Save before leaving the editor to avoid discarding unsaved work.
Contact support
Open Settings → Feedback to prepare an email. If system Mail is not configured, copy the support address. Include the app version, device model and steps to reproduce the issue. Private photos are not required.
Support email: zhengjianzhaokefu@163.com. Please do not send passwords, identity documents or unnecessary private photos.